To Output Burst Waveform(пакетный сигнал)

To Output Burst Waveform(пакетный сигнал)
 |
 |
DG1000Z can output waveform with specified number of cycles (called burst) from a single channel or from dual channels at the same time.
|
|
 |
 |
 |
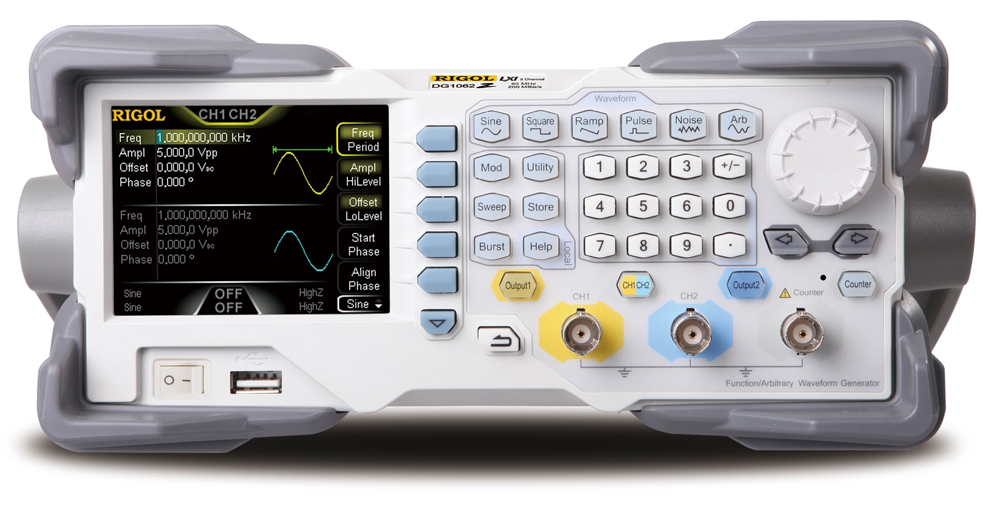
1. To select output channel
Press CH1|CH2 to select CH1. Now the boarder of the channel status bar is displayed in yellow.
2. To set the carrier waveform shape and amplitude for burst
1) Waveform: Press Sine to select sine as the carrier waveform.
2) Amplitude: Press Ampl/HiLevel to highlight “Ampl”, and then use the numeric keyboard to input 5. Then, select Vpp from the pop-up menu.
3) Period: Press Freq/Period to highlight “Period”, and then use the numeric keyboard to input 1. Then, select msec from the pop-up menu.
3. To enable burst function
Press Burst to enable the burst function (the backlight of the key goes on).
When Burst is enabled, Mod or Sweep function will be automatically disabled (if currently enabled).
Int and Burst will be displayed in the bottom of the screen.
4. To set the burst type and Cycles
Press Type to select NCycle. At this point, the Cycles in the screen is highlighted and can be edited.
Use the numeric keyboard to input 3 and press Sure.
5. To set burst period
Burst period is only available for N cycle burst in internal trigger and is defined as the time from the start of a burst to the start of the next burst.
Press Burst Period to input 10 using the numeric keyboard and select msec from the pop-up menu.
6. To select burst trigger source
Press Trigger -> Source to select Int trigger source.
7. To set the delay
Burst delay is only available for N cycle and infinite burst type.
It is defined as the time from when the generator receives the trigger signal to starts to output the N Cycle (or Infinite) burst.
Press Delay, and then use the numeric keyboard to input 1.
Then select msec from the pop-up menu.
8. To enable the output
Press Output1 to turn CH1 output on. At this point, the backlight goes on and the [CH1] connector outputs the burst waveform based on the current settings.
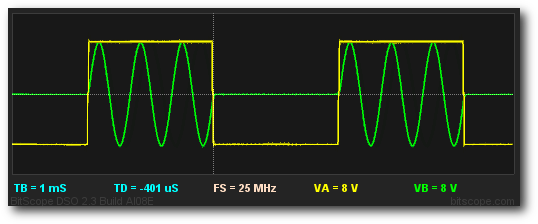
9. To observe the output waveform
Connect the [CH1] connector to the oscilloscope using BNC cable.
The waveform is as shown in the figure below.
Figure 10 Burst